How to adjust the optical path of the fully automatic coil fiber laser cutting machine
—— Product Features of Fully Automatic Coil Fiber Laser Cutting Machine ——
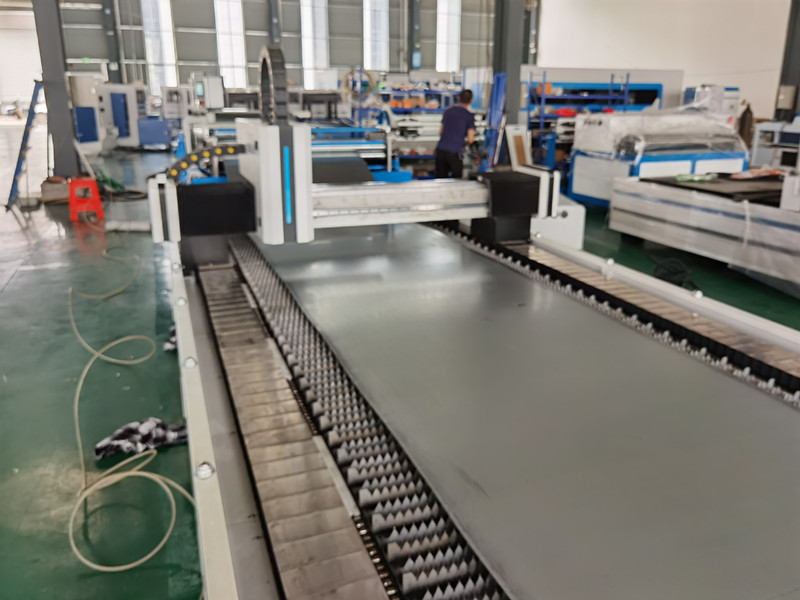
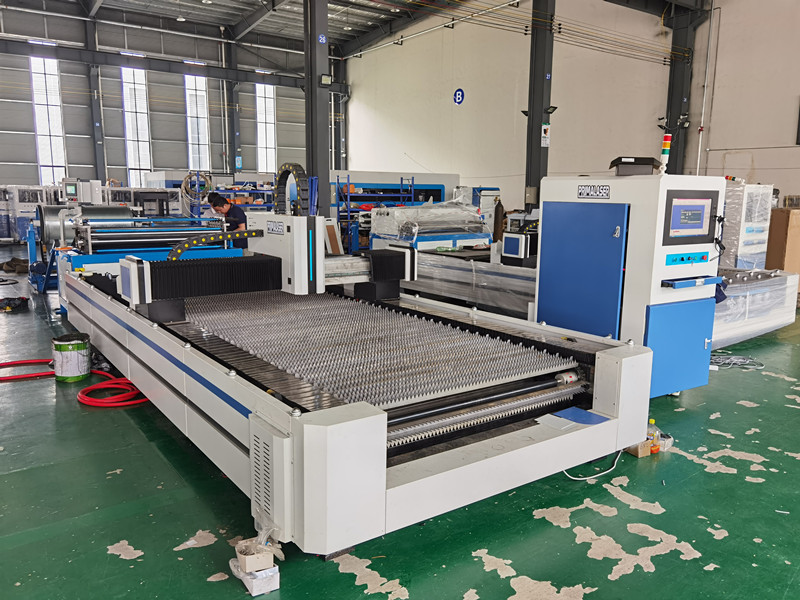
Rolling sawtooth saves loading and unloading time and improves safety
Better beam quality: smaller focusing spot, finer cutting lines, smooth incisions, beautiful appearance, no deformation, higher work efficiency and better processing quality.
High stability: using fiber laser, compact structure, small size, using fixed optical path, low energy consumption, stable cutting quality.
The optical path is not restricted, the transmission loss of the optical fiber is small, and the processing range can be maximized.
Lower maintenance cost: no laser working gas; optical fiber transmission, no need for reflective mirrors; can save a lot of maintenance costs.
The software can realize the timely processing of various graphics and characters, and is simple and convenient to use.
Energy saving and environmental protection, perfect smoke and dust removal system.
The operating cost is low, and it can meet the needs of 24-hour industrial production.
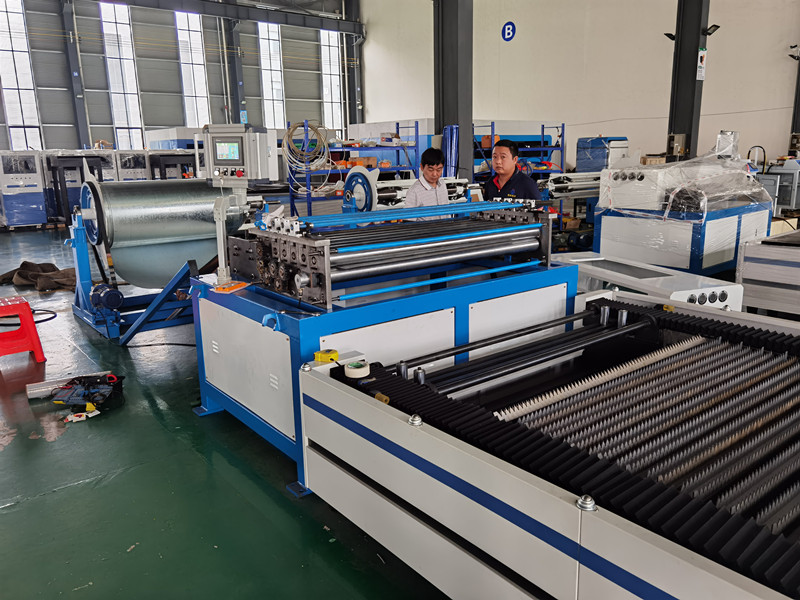
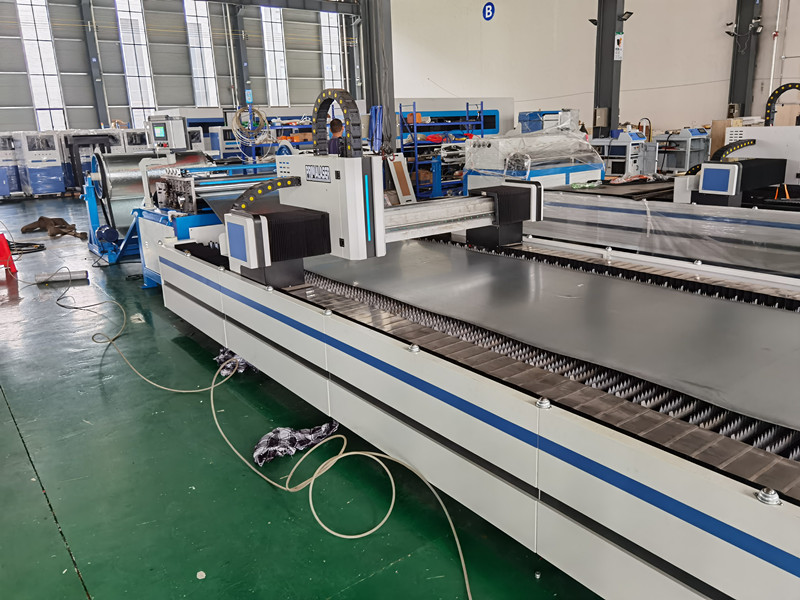
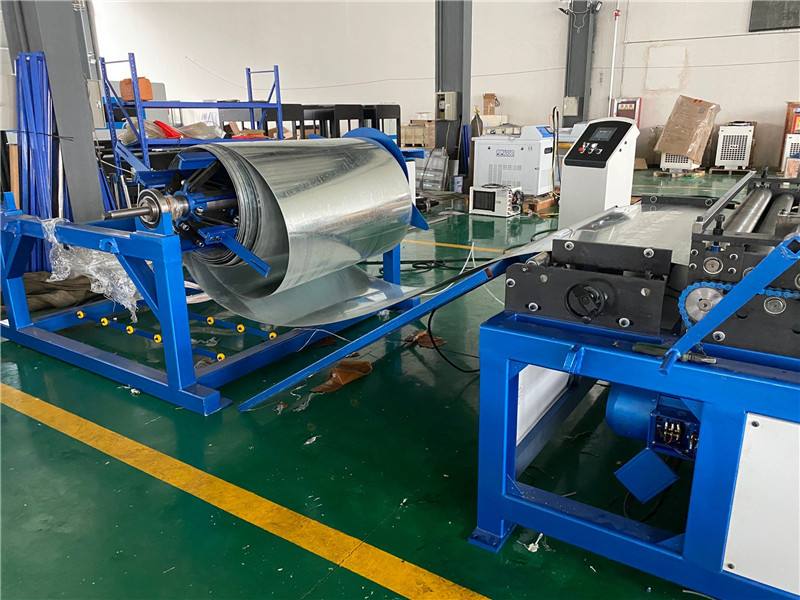
The automatic production line can be combined with the coiler and the leveler to greatly improve the production efficiency.
The automatic coil fiber laser cutting machine itself adopts a flying optical path system. When working for a long time, the optical path will have a slight deviation, which has a great impact on the cutting effect. Therefore, it is very necessary to regularly check the optical path and make adjustments. How to adjust its light path, have you learned these skills?
- Check whether the laser can hit a mirror, if not, please adjust the position of a mirror.
- Check whether the laser can hit the second and third reflectors, if not, please adjust the M1, M2, M3 screws behind the top reflector.
- Move the laser head to the upper left corner and hit another laser point to see if it is in the same position as the hit point in the upper right corner. If not, adjust the M1, M2, M3 screws of the second reflector so that the impact point is the same as the upper right corner. The dot in the upper right corner is in the same position.
- Paste at least two layers of double-sided tape on the light entrance of the laser lens barrel, move the laser head to the upper right corner of the desktop, press the TEST button on the control panel, and hit a laser point.
- Move the laser head to the lower left corner, see if the point is the same as the upper right corner, and adjust the second reflector.
- Repeat the adjustment of points 4 and 5 above to make the last three laser points reach the same position.
- Check whether the focus is in the center: place a mirror vertically under the focusing lens, paste a transparent plastic sheet under the lens barrel close to the lens barrel (ie press and hold), press the button TEST to hit the laser to see if the laser point hits focusing lens. When holding the plastic sheet, be careful of laser burns and do not place your hands in the vertical plane of the lens.
Generally speaking, the key component of the automatic coil fiber laser cutting machine is the numerical control system, and its working environment is generally between 5 degrees and 70 degrees. In this temperature range, the effect of high temperature is small. And the temperature is too low, it is easy to cause the trachea, cable breakage, air leakage, and poor contact.
For the drive, the temperature has little effect, because the equipment seldom uses liquid lubricating oil, so it will not freeze, so there is no need to worry about the temperature. But in any case, if there are conditions, it should be ensured that the temperature of the workshop is above 0 degrees, and it should not be too low, because long-term low-temperature operation is likely to cause excessive mechanical wear and premature aging. This is the introduction of the automatic coil fiber laser cutting machine!
