The selection principle and installation process of precision stamping dies mold
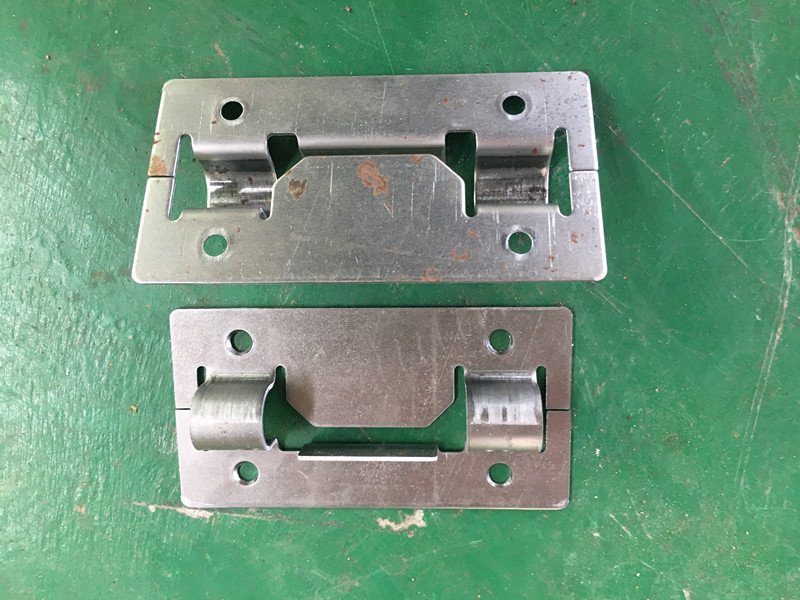
It is especially important to choose the right material before precision mold processing. It is necessary to select the appropriate steel according to the customer’s service life and performance requirements of the mold, and to estimate the working strength and force capacity of the precision mold. Below, the editor of Primapress Hardware Products Factory will organize and introduce the selection principles of precision stamping molds for everyone.
- Wear resistance
When the blank is plastically deformed in the mold cavity, it flows and slides along the surface of the cavity, causing violent friction between the surface of the cavity and the blank, which causes the mold to fail due to wear. Therefore, the wear resistance of the material is one of the most basic and important properties of the mold.
Hardness is the main factor affecting wear resistance. In general, the higher the hardness of the mold parts, the smaller the amount of wear and the better the wear resistance. In addition, wear resistance is also related to the type, quantity, shape, size and distribution of carbides in the material.
- Strength
The working conditions of molds are mostly very bad, and some of them are often subjected to relatively large impact loads, resulting in brittle fracture. In order to prevent the sudden brittle fracture of the precision stamping parts of the mold during work, the mold must have high strength and toughness. The toughness of the mold mainly depends on the carbon content, grain size and organization state of the material.
- Fatigue fracture performance
In the working process of the mold, under the long-term action of cyclic stress, fatigue fracture is often caused. Its forms include low-energy multiple impact fatigue fracture, tensile fatigue fracture, contact fatigue fracture, and bending fatigue fracture.
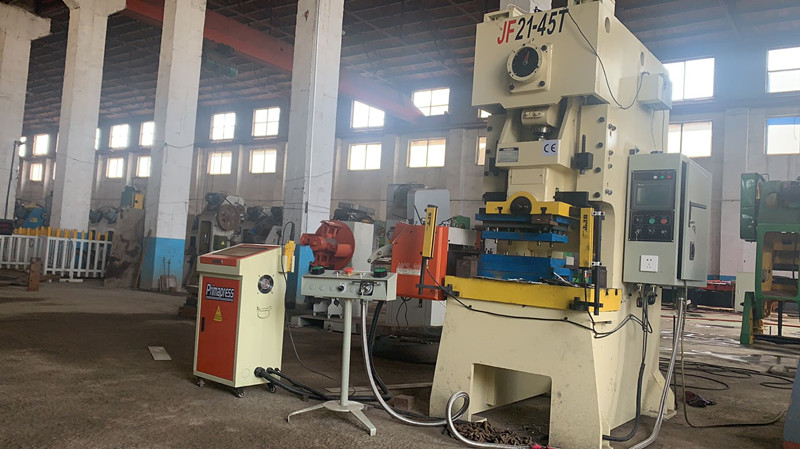
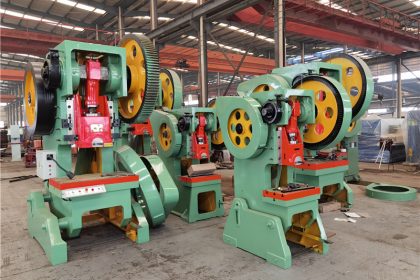
What are the lessons learned from the mold installation of pneumatic punches?
- Before installation, first confirm that the cutting edge of the mold is sharp, there is no collapse on the cutting edge of the mold, and there is no leakage angle on the pneumatic punch. If there are cracks or missing corners, sharpen the knife edge first.
- Before closing the mold, place a piece of silicon steel sheet between the upper and lower molds to prevent scratches during handling.
- Before installing the mold with a pneumatic punch, grind off the burrs at the bottom and top with a whetstone, and clean up the garbage with a cloth strip. If there are burrs or rubbish on the upper and lower planes of the mold, the punching burrs will exceed the tolerance.
- Adjust the stroke of the slider to a suitable position and press the upper mold. To ensure that the upper surface of the mold handle or mold base is close to the bottom surface of the slider, gently press the screws of the lower mold plate. Then, adjust the slider upwards and take out the silicon steel sheet in the middle. Loosen the lower template screw, adjust the slider downwards until the punch enters the female mold 3~4mm, and press down the template screw. When the new mold is blanked, the punch needs to enter the mold 3~4mm, otherwise, the punch will collapse or the mold will crack.
- Raise the slider to the top dead center position, adjust the pneumatic punch rod check screw to the proper tightness, and then idle several times to observe whether the die and punch mechanism work normally. If there are no abnormalities, you can start producing pneumatic punching machines.
